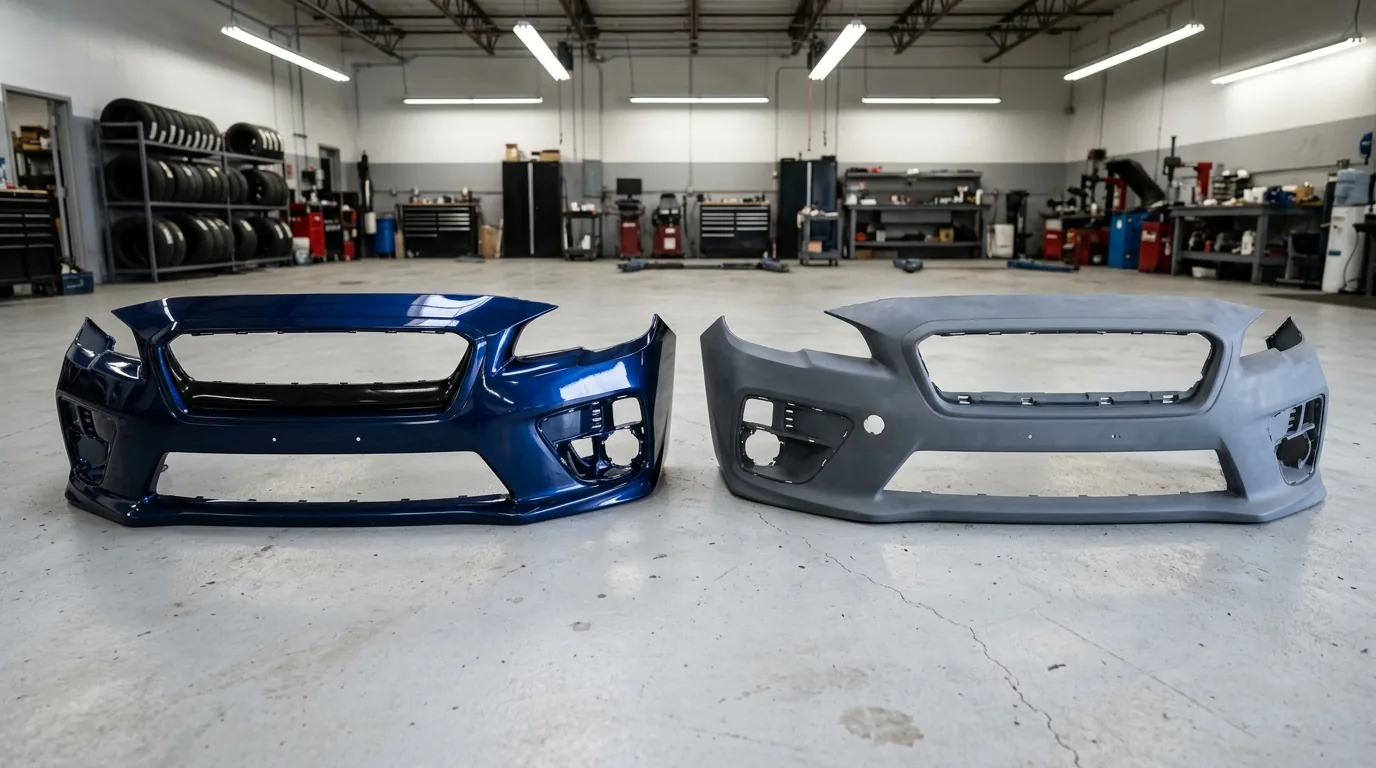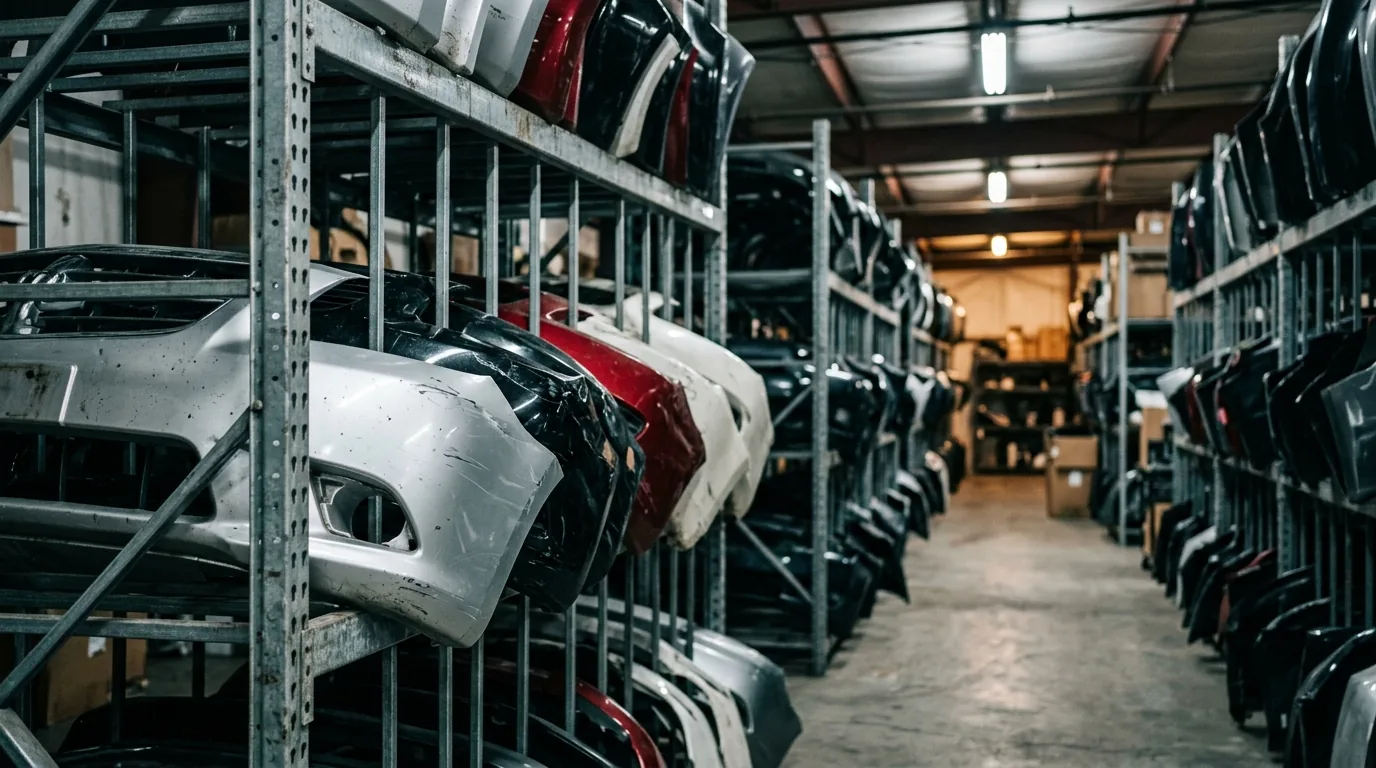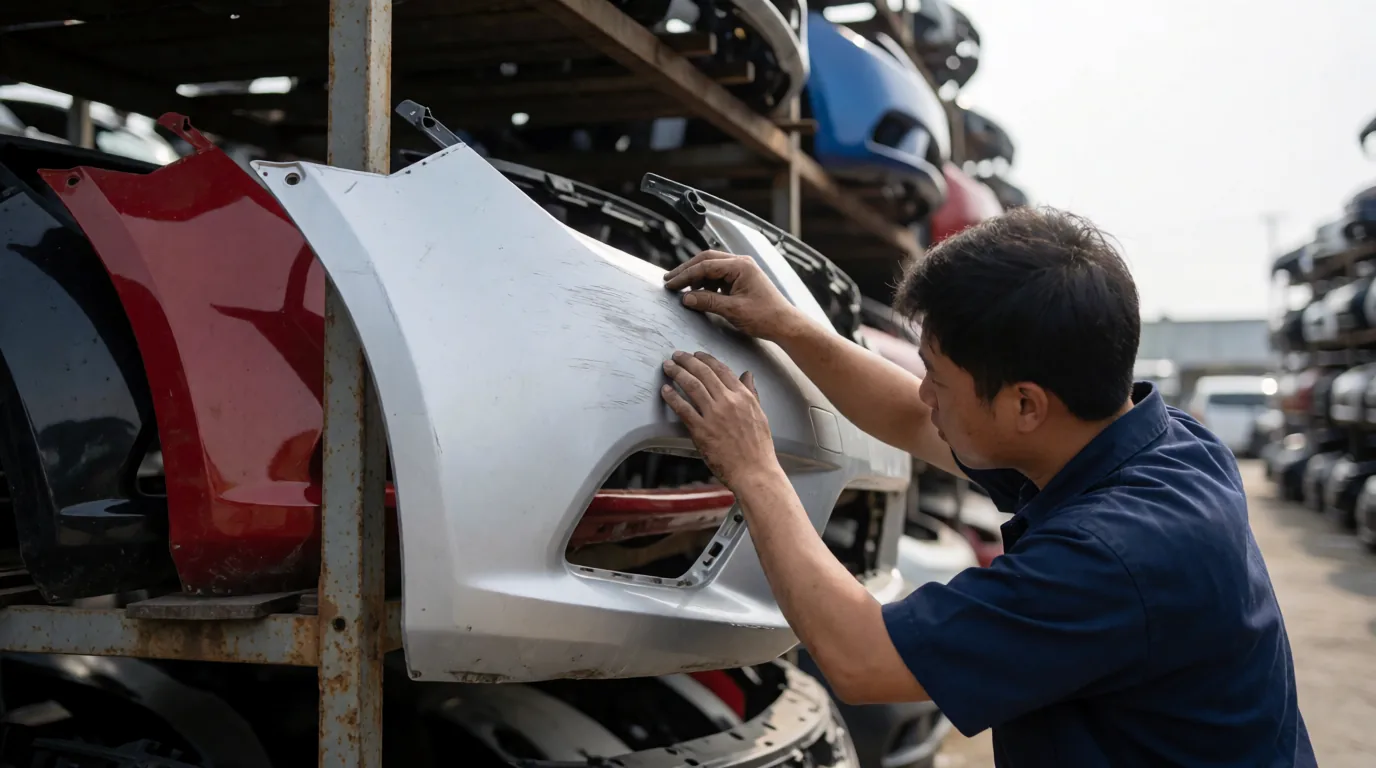
Buying a used bumper from a salvage yard comes down to three checks in order: find your paint code, confirm the donor's trim level matches yours, and inspect the back side of the cover for broken mounting tabs. Get those right and a color-matched used OEM cover lands around $300 installed against a $260 median part price, based on 17,627 priced salvage listings.
Skip the paint code step and you'll spend $300 to $700 at a body shop, which erases most of what made salvage attractive in the first place. This guide runs the process end to end.
- Paint code first, price second. A color match is worth $300 to $700 in avoided paint work, far more than the $50 you'd save shopping on price alone
- Median used front bumper: $260 across 17,627 priced salvage yard listings from 51 vehicle models
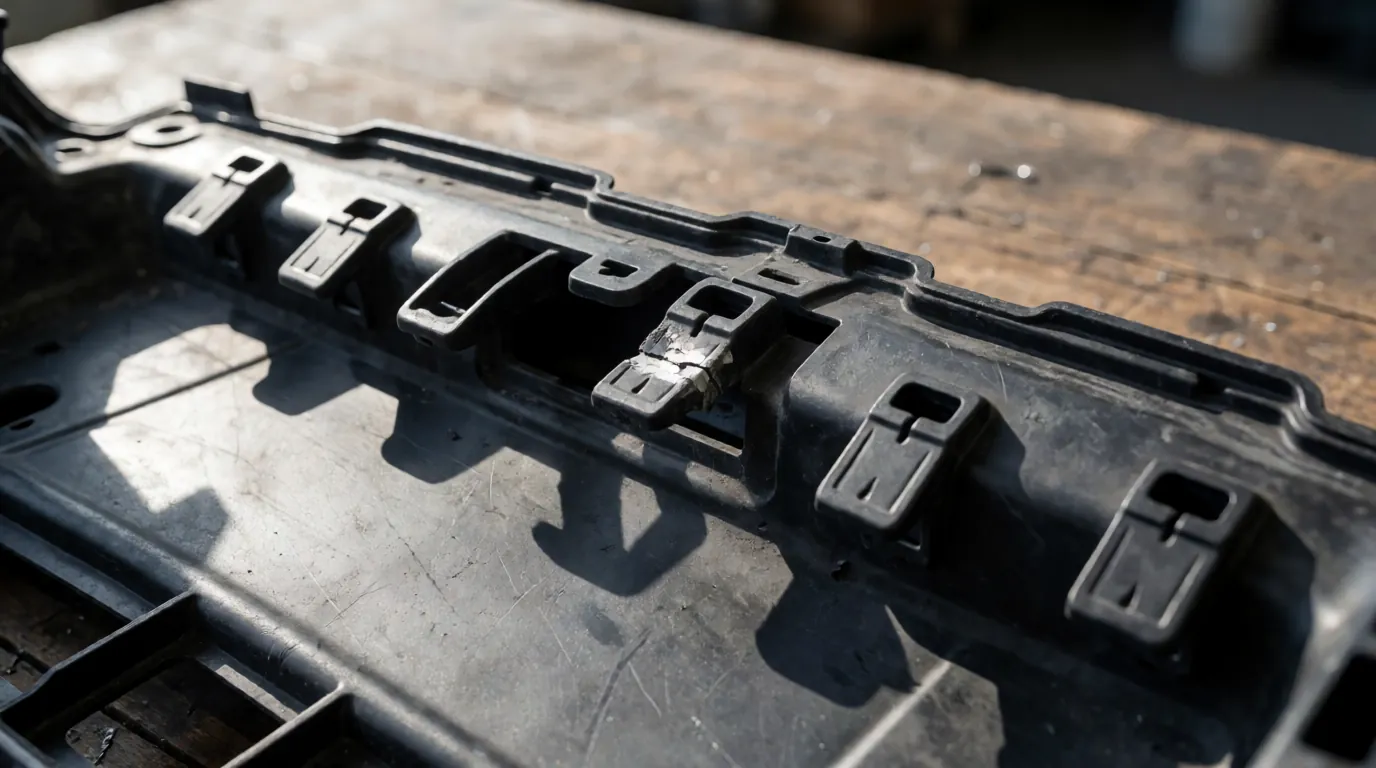
- Broken mounting tabs are the number one defect and the hardest to spot in a listing photo, so always request back-side pictures
- Trim level matters more than model year on sensor bores, fog light openings, and grille cutouts
- Pick up locally when you can. Shipping runs $75 to $250 on a bulky cover and removes your chance to compare color in daylight
Step 1: Find Your Paint Code
Your paint code lives on a manufacturer information sticker, and on most vehicles it's inside the driver's door jamb.
Open the driver's door and look at the B-pillar, the vertical post the door latches to, or the edge of the door itself. You're looking for a printed label with the VIN, tire pressures, gross weight ratings, and a two to four character alphanumeric code. It's usually labeled with one of these: PNT, C/TR, EXT PNT, COLOR, or just PAINT.
If it isn't in the door jamb, check these in order:
| Brand family | Common location |
|---|---|
| Toyota, Lexus, Scion | Driver door jamb, code after "C/TR" |
| Honda, Acura | Driver door jamb, code starts with a letter then digits |
| Ford, Lincoln | Driver door jamb sticker, two-character code in the lower box |
| GM (Chevy, GMC, Buick, Cadillac) | Glove box, spare tire well, or driver door jamb, code after "BC/CC" |
| Chrysler, Dodge, Jeep, Ram | Driver door jamb or under hood on the radiator support |
| Hyundai, Kia | Driver door jamb, two-character code |
| Nissan, Infiniti | Driver door jamb or firewall under hood |
| Subaru | Driver door jamb or under hood on the strut tower |
| BMW, Mercedes, VW, Audi | Under hood on the strut tower, radiator support, or trunk lid underside |
Match the code, never the color name. "Silver Metallic" is not a specification. Toyota alone has run multiple distinct silvers concurrently, and two of them side by side in sunlight look nothing alike. The code is the only thing that means anything to a paint supplier or a salvage yard search.
Step 2: Identify the Exact Cover You Need
Front bumper covers change more often than mechanical parts do, and the differences are easy to miss until the part is in your hands.
Four attributes to pin down before you search:
Sub-generation, not just model year. Manufacturers restyle front fascias mid-generation. A 2019 and a 2021 of the same nameplate frequently use different covers even though everything under the hood is shared. Look up your model's facelift year, or compare a photo of your front end against the listing photo at the same angle.
Trim level. Base, mid, sport, and off-road trims commonly use different covers with different lower grille openings and fog light provisions. A sport-package cover on a base car leaves you with open holes where fog lights should be.
Sensor configuration. Count the parking sensor bores across your existing cover's face and note their spacing. If your car has adaptive cruise control, note whether the radar module sits behind an emblem or behind a dedicated cover section. A cover with no bores can't be retrofitted cleanly, because sensor aim depends on the molded mounting boss angle behind the hole.
Tow hook and license plate provisions. These vary by market and trim and are visible in any straight-on photo.
Write these down as a short spec before you contact a single yard. It turns a vague "do you have a bumper for a 2019?" into a question the counter can actually answer.
Step 3: Search Salvage Inventory the Right Way
Search by paint code plus part, then filter on distance. Reversing that order is how people end up paying for paint.
Your three sourcing channels:
Full-service salvage yards remove and store the part for you, list with photos, and usually offer a short warranty. This is where the bulk of the 17,627 priced listings in the PartPriceGuide index come from, and where color-matched inventory is easiest to search.
Self-service pull-your-own yards (Pull-A-Part, LKQ Pick Your Part) price lowest, often 20 to 40 percent under counter-service yards. You walk the lot, find a donor car in your color, and remove the cover yourself. This is the best channel for color matching, because you can hold a paint chip against the actual car in daylight. Bring a socket set, a plastic trim tool, and a 10mm you're willing to lose.
Online recycler networks (Car-Part.com, eBay) aggregate inventory from thousands of yards nationwide. Widest selection by far, but you're buying from photos and paying freight.
Search tips that actually change results:
- Search both "front bumper" and "bumper cover." Yards index these inconsistently.
- Set your radius to at least 150 miles before concluding your color doesn't exist. Supply varies enormously by region.
- Check listing counts as a supply signal. High-volume models like the Toyota RAV4 (1,534 listings) and Hyundai Sonata (1,046 listings) give you real color choice, while models under 100 listings mean you take what's available.
- Ask the counter to check incoming inventory. Yards process new vehicles constantly and a cover in your code may be two days from being pulled.
Compare live pricing across models on the front bumper price index, or go straight to your vehicle, for example the Toyota RAV4 front bumper or Jeep Grand Cherokee front bumper.
Step 4: Inspect for Hidden Damage
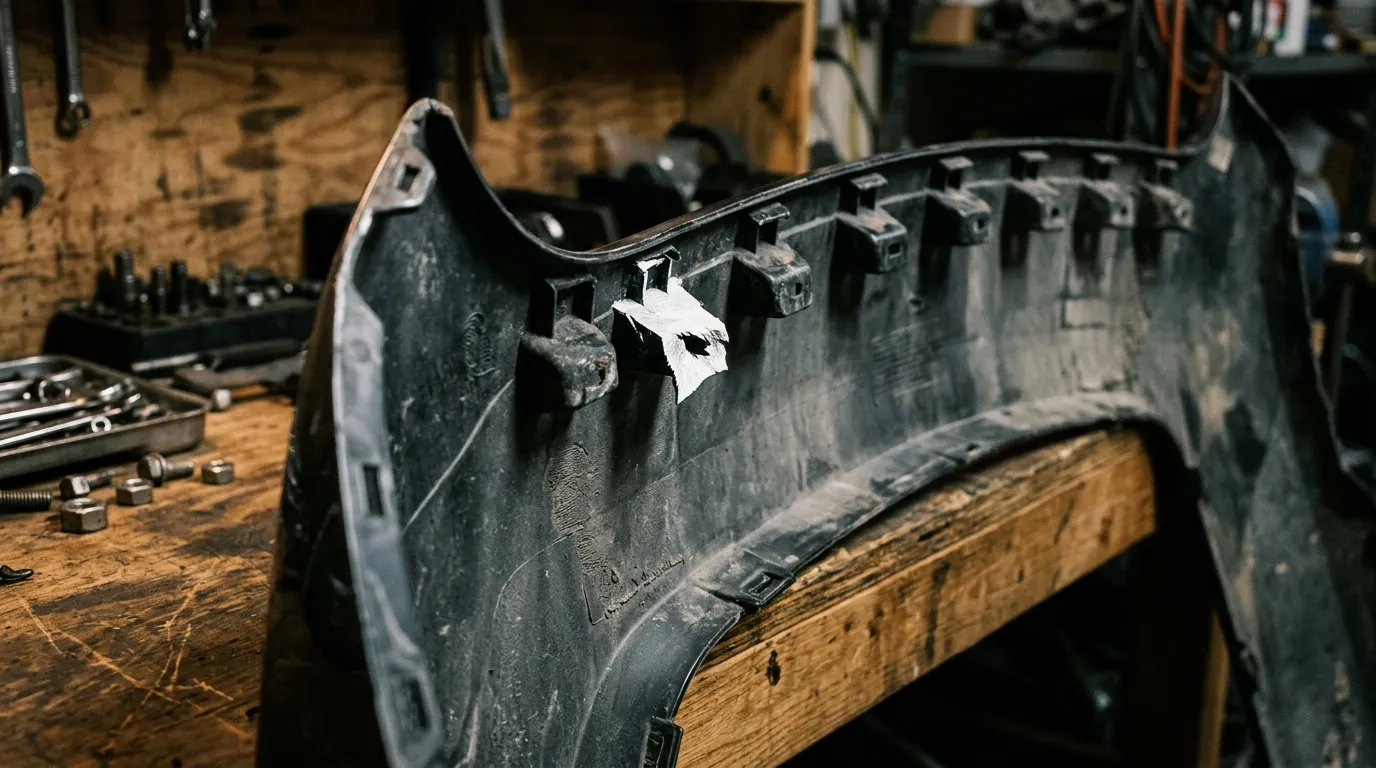
Turn the cover over. Almost every problem worth knowing about is on the back.
Because every front bumper listing in the index is ungraded, the yard hasn't assessed condition for you the way it would on a graded mechanical part. The inspection is entirely your job, and it takes about four minutes.
The back-side checklist:
- Mounting tabs. Count them and check every one. These thin plastic ears break on removal, and a cover missing three tabs will never sit flush no matter how carefully it's installed. This is the most common defect and the least visible in listing photos.
- Fender flange straightness. Sight down the upper edge where the cover meets the fender. A wave or a curl here means the cover was stressed in a collision, and it's what causes gaps you can't shim out.
- Stress cracks at mount points. Look for hairline fractures radiating from screw bosses and clip holes. Flex the area gently. A crack that opens under light pressure will grow.
- Absorber and bracket condition. If the impact absorber or the retainer brackets come with the cover, verify they aren't crushed.
The front-side checklist:
- Clear coat condition. Peeling, chalking, or a cloudy haze means the finish is failing. That cover needs paint regardless of color match.
- Previous repair filler. Tap along the face with a knuckle. A dull thud where the rest sounds sharp usually means body filler, which cracks again on plastic.
- Sensor and fog light bores. Confirm the count, spacing, and diameter match your car.
- Lower valance and chin. The most scraped area and the one most often cropped out of listing photos. Ask specifically.
If you're buying remotely, request photos of the back side, both upper fender corners, and the lower chin. A yard that won't send them is telling you something.
Step 5: Judge the Color Match Honestly
A matching paint code gets you close. Age, sun exposure, and prior repairs decide whether it's actually close enough.
Automotive paint fades. A donor car that spent ten years parked outside in Arizona will read noticeably lighter than your garage-kept car wearing the identical code. Metallics and pearls diverge fastest because the flake orientation shifts as clear coat degrades.
How to evaluate a match before you commit:
In person: hold the cover against your fender in direct outdoor daylight, not under the yard's fluorescents or in shade. Step back ten feet and view it from an angle rather than straight on. Metallic mismatch shows up in the flop, the way the color shifts as your viewing angle changes, so a straight-on look can hide a match that will bother you every day.
Remotely: ask for photos taken outdoors on an overcast day, which is the most neutral lighting available without a light booth. Ask for one shot of the cover next to the donor car's fender, which tells you how much the cover itself has faded relative to its own vehicle.
When "close" is good enough. A slight mismatch on a ten-year-old daily driver is a rounding error. On a three-year-old car you plan to sell, it isn't. There's a middle option worth knowing: a body shop can wet sand and machine polish a faded but correctly coded cover for $100 to $200, which often pulls a marginal match back into range for far less than a full repaint and blend.
When to walk away. Wrong code, failing clear coat, or a cover that's been repainted by a previous owner in an unknown formula. In all three cases you're paying for paint anyway, so buy on condition and price instead of color and read our OEM vs aftermarket comparison before you decide which route makes sense.
Step 6: Confirm What's Included and Negotiate
"Bumper" means different things at different yards. Nail down the contents before money moves.
Ask explicitly whether the price includes:
- Grille and grille inserts
- Fog light housings and bulbs
- Parking sensors, still mounted
- Lower valance or air dam
- Tow hook cover and any emblems
- Impact absorber and reinforcement bar
- Mounting brackets and retainers
Sourcing sensors and fog lights separately can add $100 to $400, which is enough to change which listing is actually the better deal.
On negotiating: ungraded parts leave room that graded parts don't. The asking price reflects one employee's read on condition, so specific, documented flaws give you leverage. Naming the defect works better than asking for a discount in the abstract. Two broken tabs and a scraped chin is a concrete argument. "Can you do better?" isn't.
Get the return policy in writing. Full-service yards commonly offer 30-day returns with a 15 to 25 percent restocking fee and no shipping refund. Self-service yards typically sell as-is with no returns at all. On a shipped part this is the term that matters most, because a $250 cover with $150 of non-refundable freight is a $400 risk if it arrives wrong.
Step 7: Ship or Pick Up
Pick up locally whenever the part exists within driving range.
Bumper covers are large, light, and awkward, which is the worst possible combination for shipping economics. They typically move as freight or oversized parcel at $75 to $250 depending on distance, and they're vulnerable in transit because a cover that's rigid in place is floppy off the car. Damage in shipping is common enough that reputable sellers crate rather than box.
| Factor | Local pickup | Shipped |
|---|---|---|
| Added cost | Fuel only | $75–$250 |
| Inspect before paying | Yes | No |
| Compare color in daylight | Yes | Photos only |
| Transit damage risk | None | Moderate |
| Selection | Local inventory | Nationwide |
| Timeline | Same day | 3–10 days |
Transport tip for pickup: most front covers fit inside a mid-size SUV or crossover with the rear seats folded, and they ride face-up on a moving blanket. Don't strap one to a roof rack. The flex will crack it at the mount points, which is exactly the failure you spent Step 4 avoiding.
Once you know what to look for, price your model on the front bumper price index and check the full cost breakdown in how much a used front bumper costs.