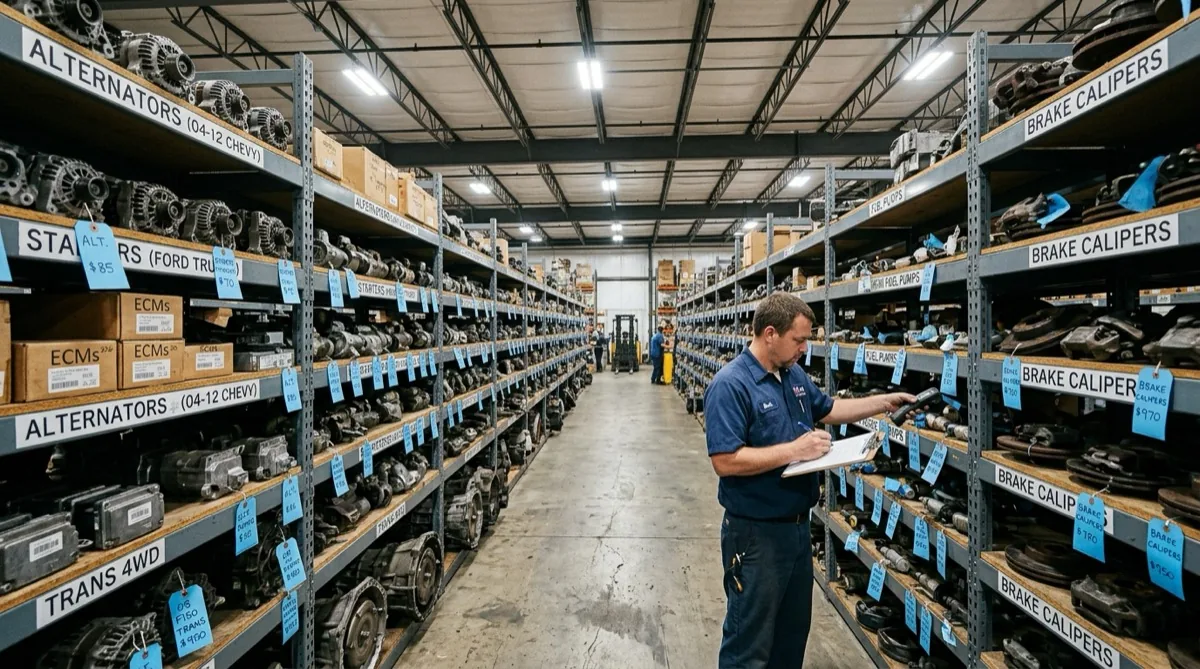
Replacing a window regulator costs $166 to $567 total at an independent shop when you use a salvage yard part. A used window regulator runs $110 median across our index of priced salvage listings spanning 63 vehicle models, with individual prices ranging from $71 to $192. New aftermarket regulators cost $50 to $200, and OEM replacements run $150 to $400. Labor adds $95 to $375 for one to two and a half hours of work.
For a broader look at salvage yard pricing, see our guide on how much junkyards charge for parts.
The wide cost range comes down to two factors: whether your vehicle uses a standalone regulator or an integrated motor-and-regulator unit, and how much labor is involved in removing the door panel. Trucks and older sedans with simple door construction fall at the low end. European luxury vehicles and designs with integrated motors sit at the top.
- Total replacement cost: $166–$567 with a used part and shop labor
- Used window regulator: $110 median across 63 vehicle models ($71–$192 range)
- New aftermarket: $50–$200, new OEM: $150–$400
- Labor: $95–$375 for 1–2.5 hours at $95–$150/hr
- Motor vs regulator matters. If the motor spins but the glass does not move, the regulator failed, not the motor
- Common symptoms: window drops into the door, slow or jerky movement, grinding noise when operating the switch
- DIY-friendly repair on most vehicles with basic hand tools and 1–2 hours of time
What Window Regulator Replacement Costs
Window regulator replacement breaks into two cost components: the part and the labor. Unlike repairs buried deep inside the engine bay, the regulator sits inside the door, making labor relatively predictable. The door panel comes off, the old regulator unbolts, and the new one goes in.
| Cost Component | Used | New Aftermarket | New OEM |
|---|---|---|---|
| Part cost | $71–$192 (median $110) | $50–$200 | $150–$400 |
| Labor (1–2.5 hrs at $95–$150/hr) | $95–$375 | $95–$375 | $95–$375 |
| Total | $166–$567 | $145–$575 | $245–$775 |
New aftermarket regulators can actually cost less than used OEM units in many cases. The design is not complex, and third-party manufacturers produce them at scale. The tradeoff is fit and finish: aftermarket regulators sometimes require minor adjustments to align the window glass properly, while a used OEM part is a direct swap.
For a broader look at salvage yard pricing across all part categories, see our used auto parts price guide.
*Part pricing source: PartPriceGuide.com analysis of salvage yard listings across 63 vehicle models, August 2026.*
Integrated vs Standalone Regulator Pricing
Some vehicles use an integrated unit where the motor and regulator are one assembly. Others separate them into two components that can be replaced independently. This distinction affects both the part cost and the repair strategy.
Integrated motor-and-regulator units cost more upfront because you are replacing both components at once. Used integrated units typically run $120 to $192 from salvage yards. The advantage is a single swap that restores the full mechanism.
Standalone regulators are cheaper at $71 to $130 used, but they require a separate diagnosis step. You need to confirm that the motor is still functional before replacing only the regulator. If both components have failed, buying them separately often costs more than a single integrated unit.
Vehicles that commonly use integrated units include many GM trucks, Ford sedans from 2010 onward, and most modern Hyundai and Kia models. Honda, Toyota, and BMW tend to use separate motor and regulator assemblies.
Window Motor vs Window Regulator
These two parts work together but fail differently, and confusing them leads to replacing the wrong component.
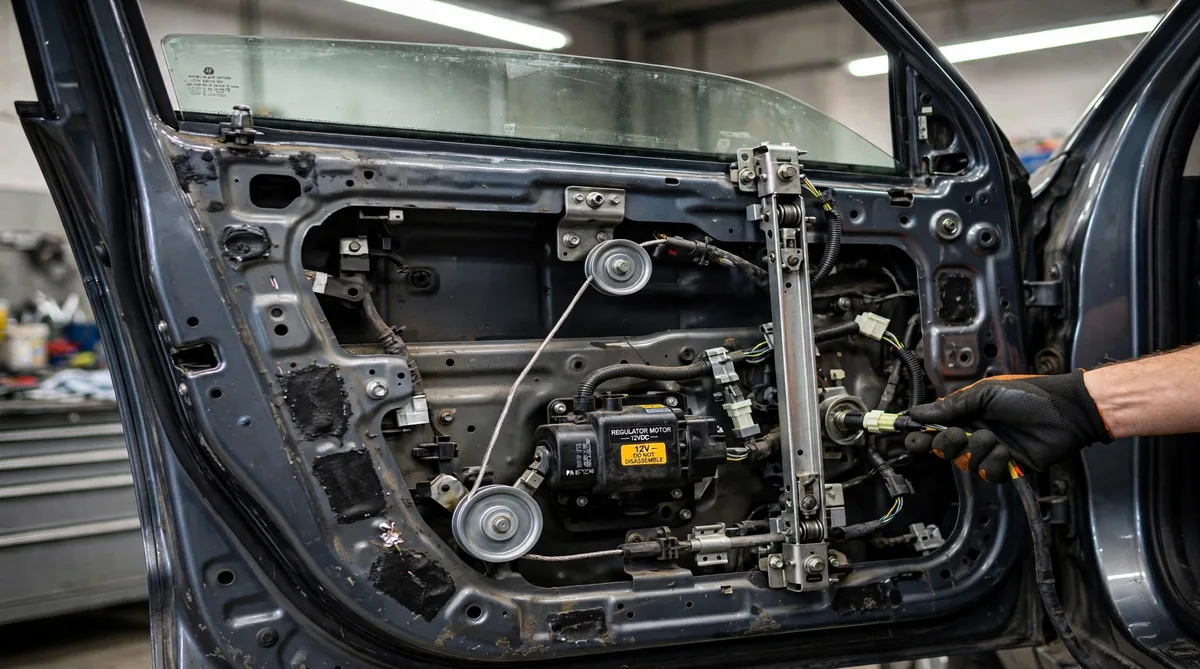
The window regulator is the mechanical assembly inside the door that physically moves the glass. It uses either a scissor-arm mechanism, a cable-and-pulley system, or a gear-driven rail to translate rotational force into vertical glass movement. When the regulator fails, the motor still runs (you can hear it), but the glass does not move or drops freely into the door.
The window motor is the electric unit that provides the force to drive the regulator. When the motor fails, pressing the window switch produces no sound, no vibration, and no movement at all. A failed motor with a working regulator is electrically silent.
| Symptom | Likely Failed Part | Typical Cost (Used + Labor) |
|---|---|---|
| Motor hums but glass does not move | Regulator | $166–$567 |
| Glass drops freely into the door | Regulator (cable snapped) | $166–$567 |
| No sound or movement from the switch | Motor or electrical | $120–$400 |
| Slow, jerky movement with grinding | Regulator or motor | $166–$567 |
One diagnostic shortcut: if you press the window switch and hear the motor spinning inside the door, the motor works. The regulator is the problem. This single test can save you from buying the wrong part.
Symptoms of a Failing Window Regulator
Window regulators rarely fail without warning. Most give progressively worsening symptoms over weeks or months before the window stops working entirely.
The window drops into the door and will not stay up. This is the most obvious and urgent symptom. The cable has snapped or the scissor arm has broken, leaving the glass with no support. The window slides down under its own weight. On cable-style regulators, this often happens suddenly with an audible snap.
Slow or jerky window movement. The window hesitates, stutters, or moves at different speeds during its travel. A regulator with worn guides, a fraying cable, or corroded pivot points creates uneven resistance. If the motor has to work harder at certain points in the travel, the regulator is binding.
Grinding or crunching noise when operating the window. Worn gears in a gear-drive regulator or corroded rollers in a rail-style unit produce a metallic grinding. This noise increases over time and eventually leads to a complete mechanical failure.
Window tilts or sits crooked in the frame. A regulator with a broken arm or detached guide allows the glass to lean forward or backward. The window may still move but no longer seals against the weatherstripping. This causes wind noise at highway speeds and water leaks during rain.
Window moves down but struggles going up. Gravity helps the downward travel, masking the regulator's deterioration. The upward stroke requires full mechanical support, making it the first direction to show problems. If the window goes down smoothly but creeps or stalls on the way up, the regulator is failing.
The window works intermittently. Some days it operates normally, other days it stalls partway. Temperature changes cause metal components to expand or contract, temporarily restoring function. This intermittent pattern is common with cable regulators where a frayed cable catches and releases unpredictably.
If the window does not respond at all and you hear no motor sound, the problem may be electrical rather than mechanical. Check the window switch, fuse, and wiring before ordering a regulator.
Manual vs Power Window Regulators
Manual and power window regulators share the same basic mechanical function: they move the glass up and down along a track inside the door. The difference is in what drives that movement and how the regulator is designed.
Manual Window Regulators
Manual regulators use a hand crank connected to a gear mechanism. Turning the crank rotates a sector gear that moves the scissor arms or cable, raising or lowering the glass. These regulators are mechanically simpler and tend to last longer because there is no motor, no electrical connection, and fewer failure points.
Manual regulators cost $30 to $80 new aftermarket and $40 to $90 used from salvage yards. Labor runs $75 to $200 because the door panel removal is the same, but there is no wiring to disconnect. Only a handful of base-model trucks, fleet vehicles, and work vans still use manual windows in 2026.
Power Window Regulators
Power regulators use an electric motor to drive the mechanism. They come in three main designs.
Cable-style regulators route a steel cable through pulleys mounted at the top and bottom of the door frame. The motor turns a drum that winds the cable, pulling the glass carrier up or down. Cable regulators are lightweight and inexpensive to manufacture, which is why most modern vehicles use them. They are also the most failure-prone style because the cable frays over time, especially in cold climates where the window motor strains against frozen weatherstripping.
Scissor-arm (X-arm) regulators use interlocking metal arms that expand and collapse like a scissor lift. These are heavier and more robust. Common in older vehicles and trucks, they fail less often but cost more to manufacture. When they do fail, it is usually at the pivot rivets or the gear teeth at the motor interface.
Gear-drive (sector gear) regulators use a toothed rail or gear rack. The motor drives a gear that meshes with the rack, moving the glass carrier along a fixed track. These offer precise control and good durability, and they are found on some mid-range and premium vehicles.
| Regulator Type | Typical Application | Durability | Common Failure Mode |
|---|---|---|---|
| Cable-style | Most modern sedans, CUVs | Moderate | Cable frays or snaps |
| Scissor-arm | Trucks, older vehicles | High | Pivot rivets wear, gear teeth strip |
| Gear-drive | Mid-range and premium | High | Motor gear strips, track corrodes |
| Manual (crank) | Base trucks, fleet vehicles | Very high | Gear teeth wear after high mileage |
DIY Window Regulator Replacement
Replacing a window regulator is one of the more accessible DIY automotive repairs. The work happens inside the door cavity, requires no specialized tools, and does not involve fluids, electronics programming, or safety systems. Doing it yourself saves the full $95 to $375 labor charge, bringing the total down to just the part cost.
Tools and Materials
- Socket set (10mm and 12mm are the most common fastener sizes)
- Phillips and flathead screwdrivers
- Trim panel removal tool (a plastic pry tool protects the clips)
- Painter's tape or duct tape to secure the window glass in the up position
- Work gloves (door panel edges and regulator arms have sharp edges)
Step-by-Step Process
1. Disconnect the battery. Any time you work inside a door with power windows, disconnect the negative battery terminal. The window switch can activate the motor while your hands are inside the door cavity.
2. Remove the door panel. Pry off any screw covers, remove the screws behind the door handle and armrest, and pop the panel free from its retaining clips. Disconnect the wiring harness for the window switch, mirror controls, and door lock before setting the panel aside.
3. Peel back the vapor barrier. Most doors have a plastic or adhesive-backed moisture barrier behind the panel. Peel it back carefully so you can reattach it when reassembling. Do not tear it or skip reinstalling it, as it keeps water from reaching the door's interior components.
4. Secure the glass. Before unbolting the regulator, tape the window glass in the fully raised position using painter's tape across the top of the door frame. If the glass drops while the regulator is disconnected, it can crack against the bottom of the door.
5. Disconnect the motor wiring. Unplug the electrical connector from the window motor. On vehicles with separate motor and regulator, you may only need to remove the regulator and leave the motor in place.
6. Unbolt the regulator. Remove the bolts attaching the regulator to the door frame (typically three to five bolts) and the bolts connecting the glass carrier to the glass itself (usually two). Maneuver the old regulator out through the large access hole in the door.
7. Install the replacement. Feed the new regulator into the door, bolt the glass carrier to the glass, and secure the regulator mounting bolts. Reconnect the motor wiring.
8. Test before reassembling. Reconnect the battery and test the window through its full travel, up and down, before reinstalling the vapor barrier and door panel. Check that the glass aligns with the weatherstripping and seals properly at the top.
9. Reassemble the door. Reattach the vapor barrier, snap the door panel back onto its clips, reinstall the screws, and reconnect all wiring.
Budget one to two hours for the job. The most time-consuming step is maneuvering the regulator in and out of the access hole in the door, especially on cable-style units where the cable must be routed through the pulleys.
If you sourced a used regulator from a salvage yard, test the motor and cable operation by hand before installing. Spin the motor briefly with a direct 12V connection to confirm it works, and inspect the cable for fraying or kinks.