Buying a used headlight assembly comes down to two checks most people skip: verifying the light technology matches your trim level, and confirming every mounting tab is intact. Get those right and a used unit will outlast the car; get either wrong and you have an assembly that either won't illuminate or won't stay bolted to the bumper.
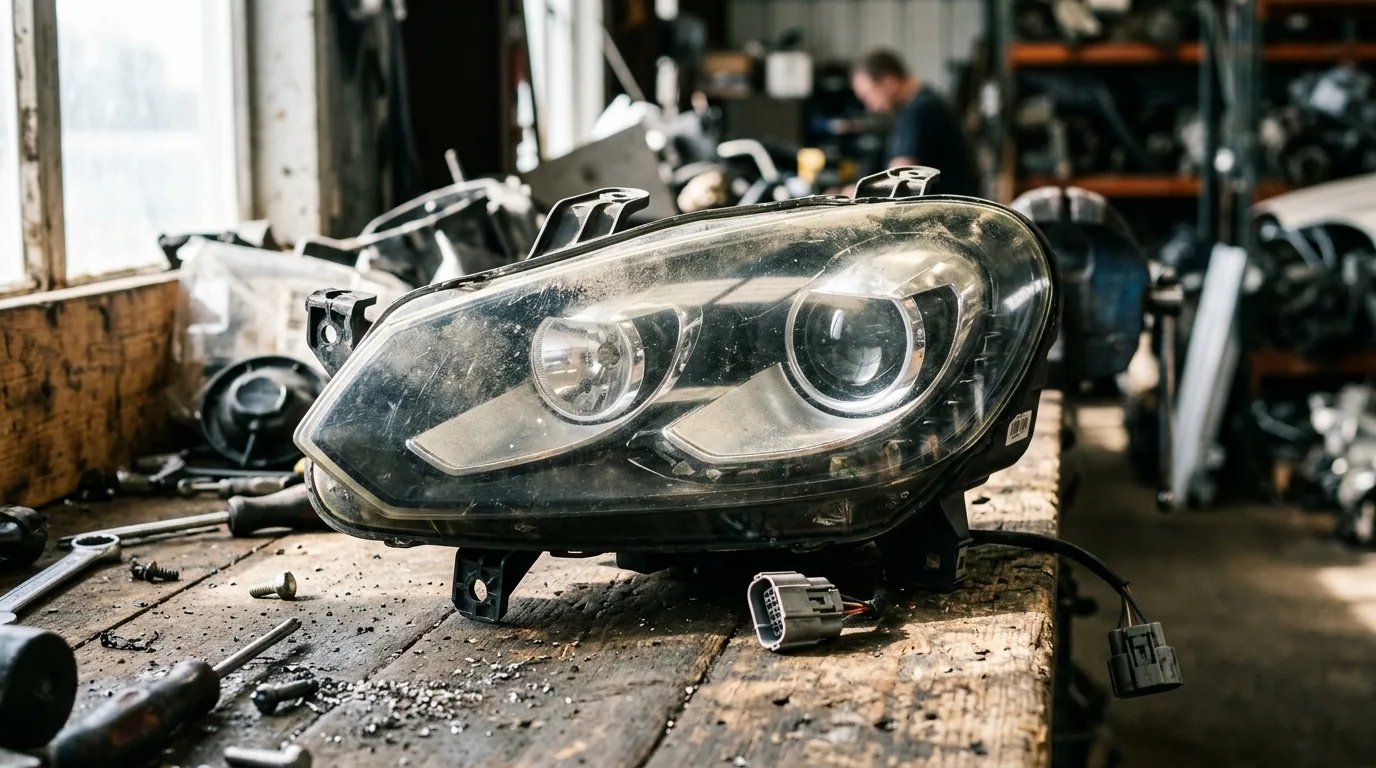
Headlights are unlike most salvage parts because their failure modes are cosmetic and electronic rather than mechanical. A used alternator either spins or it doesn't. A used headlight can look perfect on the shelf and still be a bad buy, hazed by UV, holding water behind a failed seal, missing the tab that anchors it to the fender, or built for the LED trim when your car came with halogen.
- Match the light technology first, halogen, projector, and LED assemblies on the same model use different connectors and aren't interchangeable without wiring and module work
- Price range is $187 to $1,800 by model, driven far more by headlight technology than by vehicle value
- Broken mounting tabs are the most common dealbreaker and the hardest thing to spot in a photo listing
- Surface haze is fixable in 30 minutes; internal clouding and moisture staining aren't
- Test LED and HID units powered up before you pay, drivers and ballasts fail silently and cost $80 to $300 to replace
What to Know Before Buying
Used headlight assemblies span a wider price band than almost any part we track. Across 76,427 priced listings covering 52 models, medians run from $187 on a Subaru Outback to $1,800 on a BMW X5, a 9.6x spread on a part that serves the same function on every vehicle.
| Vehicle Model | Median Price | Listings |
|---|---|---|
| Subaru Outback | $187 | 437 |
| Jeep Wrangler | $272 | 922 |
| Kia Soul | $350 | 1,551 |
| Toyota Tacoma | $377 | 2,129 |
| Honda CR-V | $444 | 1,697 |
| Toyota RAV4 | $465 | 7,092 |
| Ram 1500 | $470 | 4,177 |
| Dodge Durango | $540 | 2,601 |
| Toyota Camry | $693 | 1,676 |
| Ford Escape | $715 | 1,502 |
| Ford Edge | $800 | 3,224 |
| Chevy Silverado 1500 | $800 | 2,883 |
| Ford F-150 | $845 | 1,755 |
| Mercedes C-Class | $900 | 1,608 |
| Ford Explorer | $950 | 2,663 |
| BMW X3 | $1,190 | 471 |
| BMW X5 | $1,800 | 524 |
Read that table as a technology ladder rather than a luxury ladder. The cheap end is halogen reflector housings, sealed, simple, and produced in enormous volume. The expensive end is LED and adaptive matrix assemblies with integrated driver modules, leveling motors, and in some cases swiveling projector elements. That's why a Ford Explorer ($950) prices above a Mercedes C-Class trim mix ($900): the Explorer's LED-equipped upper trims dominate the salvage supply.
The practical consequence is that the price you're quoted tells you which version you're being sold. If a listing for your vehicle comes in at half the model median, it's almost certainly the base halogen assembly. Ask before you assume it's a bargain.
For the full pricing breakdown across every model and headlight type, see our used headlight assembly cost analysis.
The 7-Point Inspection Checklist
Work through these in order. The first three take seconds and eliminate most bad units.
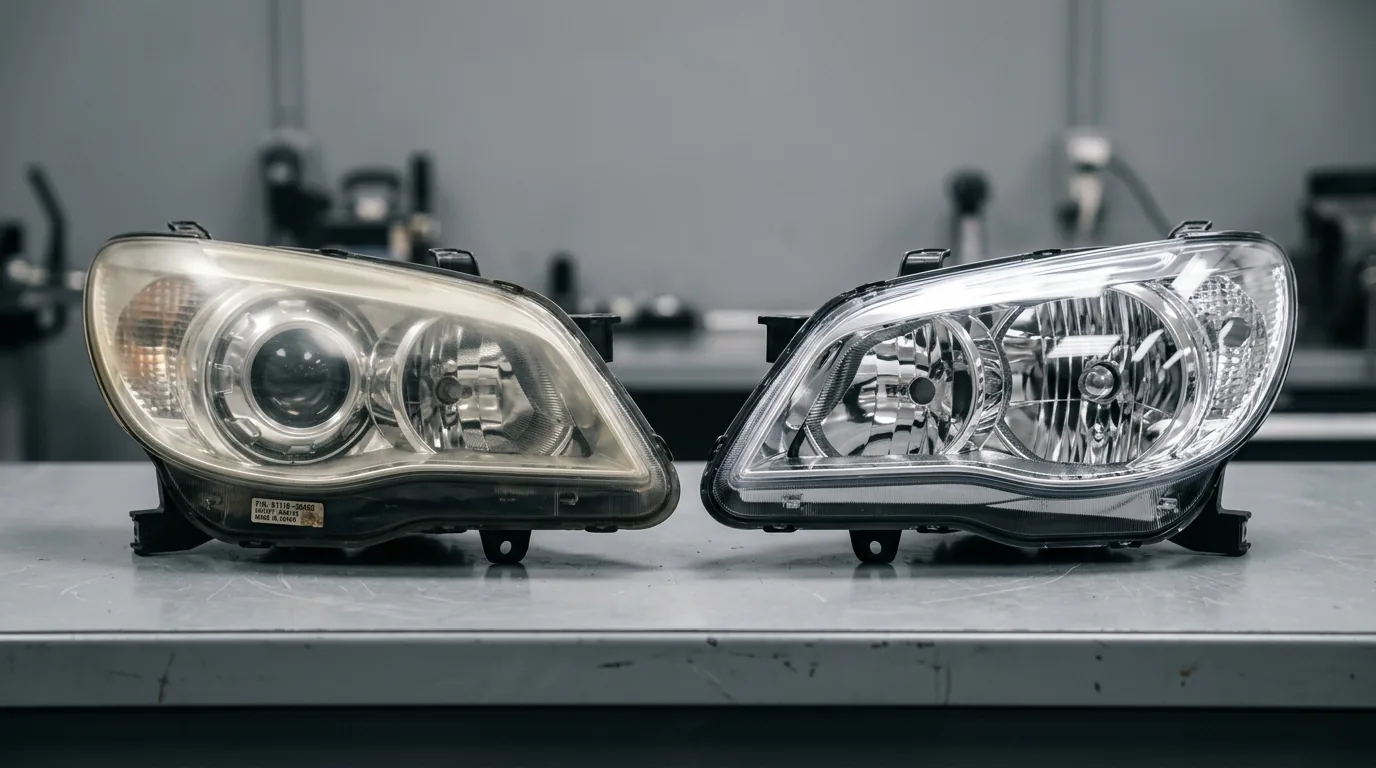
1. Lens clarity. Hold the assembly up so daylight passes through the lens, then look at the reflector bowl behind it. Yellowing and a sandy, matte texture on the *outside* is UV oxidation, normal, fixable, and worth negotiating $50 to $100 off. What you're hunting for is haze you can see *inside*: a milky film on the interior lens face, or a reflector that has gone dull grey instead of mirror-bright. Internal degradation can't be polished out and cuts usable light output by a third or more.
2. Moisture and water staining. Tip the housing and listen for sloshing. Then look at the lowest interior corner for a tide line, a faint horizontal mineral stain marking where standing water sat. A dry housing with a tide line means the seal has already failed once; it will fail again after the first cold night. Fogging that clears within an hour of sun exposure is normal condensation. A visible waterline isn't.
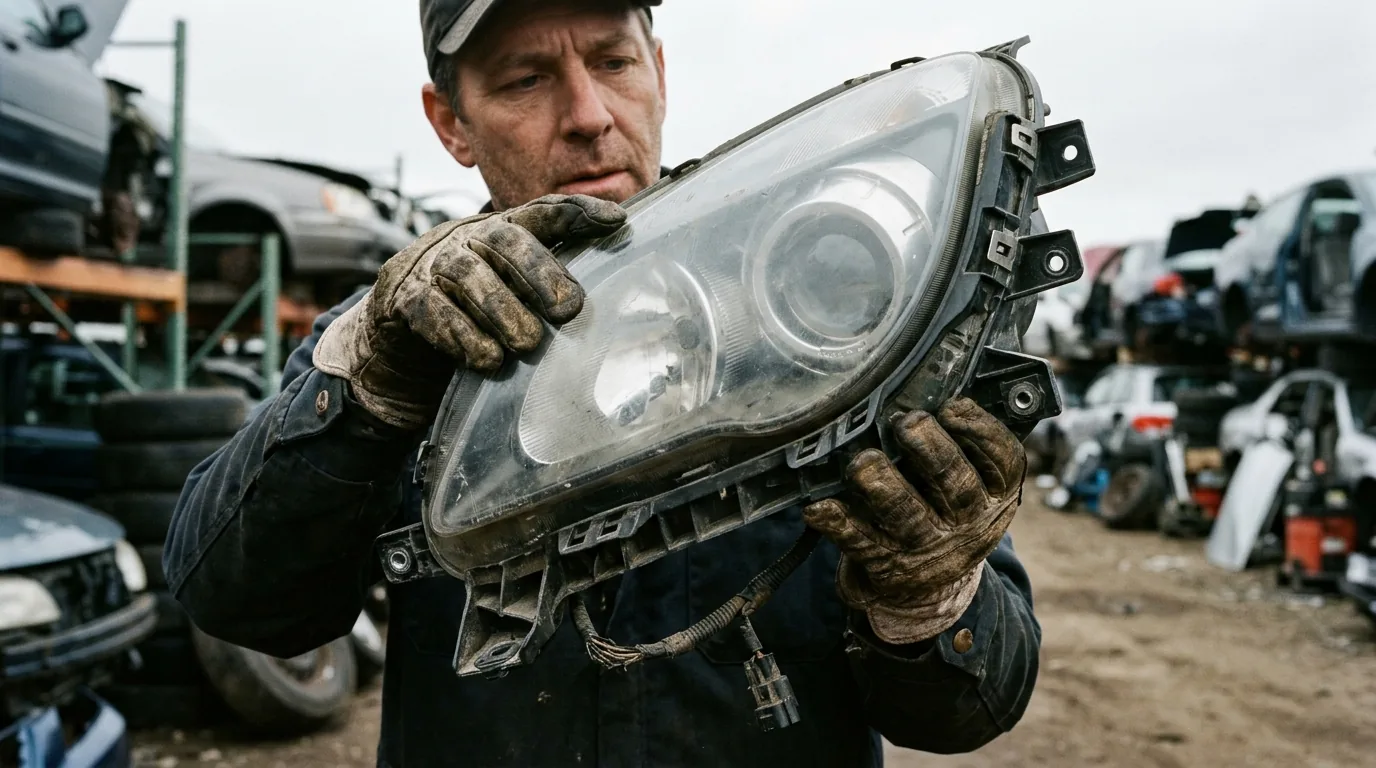
3. Mounting tabs. This is the single most common reason a used headlight is unusable, and the single hardest thing to verify from a listing photo. Count every tab against your old assembly, including the small tabs that hook under the fender and the ones behind the bumper cover. They are thin injection-molded polycarbonate, they go brittle with heat cycling, and a collision-donor headlight almost always lost at least one. Flex each tab gently, a stress-whitened tab will snap during install.
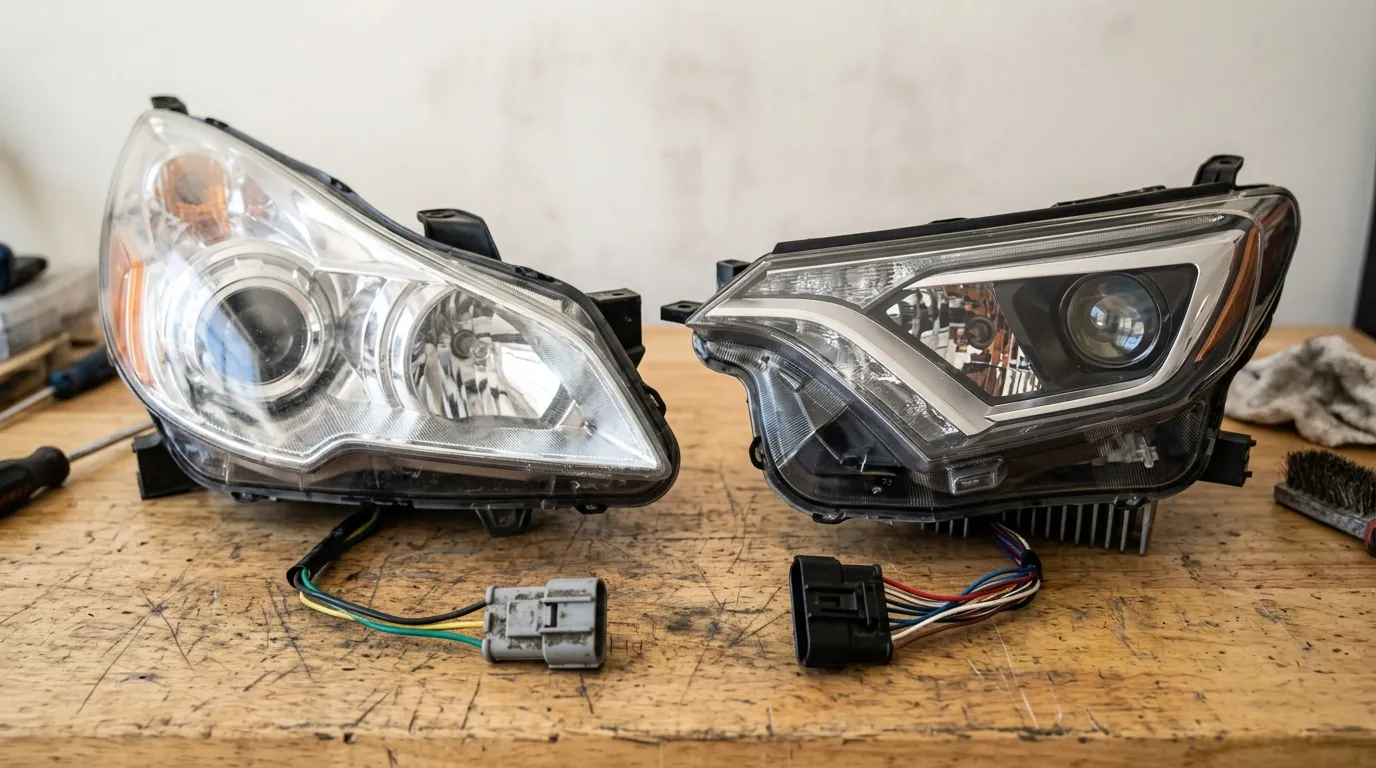
4. Connector compatibility. Compare the plug side by side with yours: pin count, housing shape, and keying notch. A three-pin plug is halogen. Larger plugs with six to twelve pins indicate LED, HID, or an integrated driver. Same model year does not guarantee the same connector; trim level and mid-cycle refreshes both change it.
5. LED and HID function. Never buy a powered assembly untested. LED drivers and HID ballasts fail without any external sign, and replacing one runs $80 to $300, enough to erase the savings. Bring a 12V jump pack with clip leads and power the unit on the spot. Watch for flicker, individual dead LED segments, and delayed strike on HID bulbs. Any yard that won't let you test a $700 headlight is telling you something.
6. DOT marking. Look for "DOT" molded into the lens, usually near an edge alongside the SAE codes. It confirms the assembly meets NHTSA federal headlight compliance standards rather than being a grey-market or off-brand replacement already fitted by a previous owner. A missing DOT stamp can fail a state inspection and, in an at-fault night collision, becomes an insurance argument.
7. Trim and side match. Confirm left versus right (marked "LH"/"RH" or "L"/"R" on the housing), and confirm the assembly's technology matches your car's factory configuration. Cross-check the OEM part number stamped on the housing against yours; it's the only check that isn't a judgment call.
Halogen vs LED vs Projector — Matching Your Trim Level
Most mainstream vehicles ship three or four headlight configurations across a single model year, and they aren't interchangeable.
Halogen reflector. Base trims. A bulb in a chrome-coated bowl, three-pin connector, no electronics. Cheapest to buy used, and the only type where a random same-year unit will usually just plug in.
Halogen or HID projector. Mid trims. A lens-and-shield assembly that produces the sharp horizontal cutoff you see on the wall. HID versions add an igniter and ballast, often mounted to the back of the housing; check that the ballast is included, because it's frequently stripped before the assembly hits the shelf.
LED and adaptive/matrix. Upper trims and most luxury vehicles. The light source is bonded into the assembly and not serviceable. These carry a driver module, and many carry a leveling motor plus a dynamic bending function. On a large share of vehicles, swapping in an LED assembly on a car built with halogen requires new wiring, a leveling sensor, and body control module coding at a dealer or with a factory-level scan tool.
The rule: buy the assembly that matches what your VIN was built with. The upgrade path from halogen to LED is a wiring and coding project, not a parts swap, and the labor typically costs more than the headlight. Our OEM vs aftermarket headlight comparison covers when a new aftermarket unit beats a used OEM one on this exact tradeoff.
Where to Find Used Headlight Assemblies
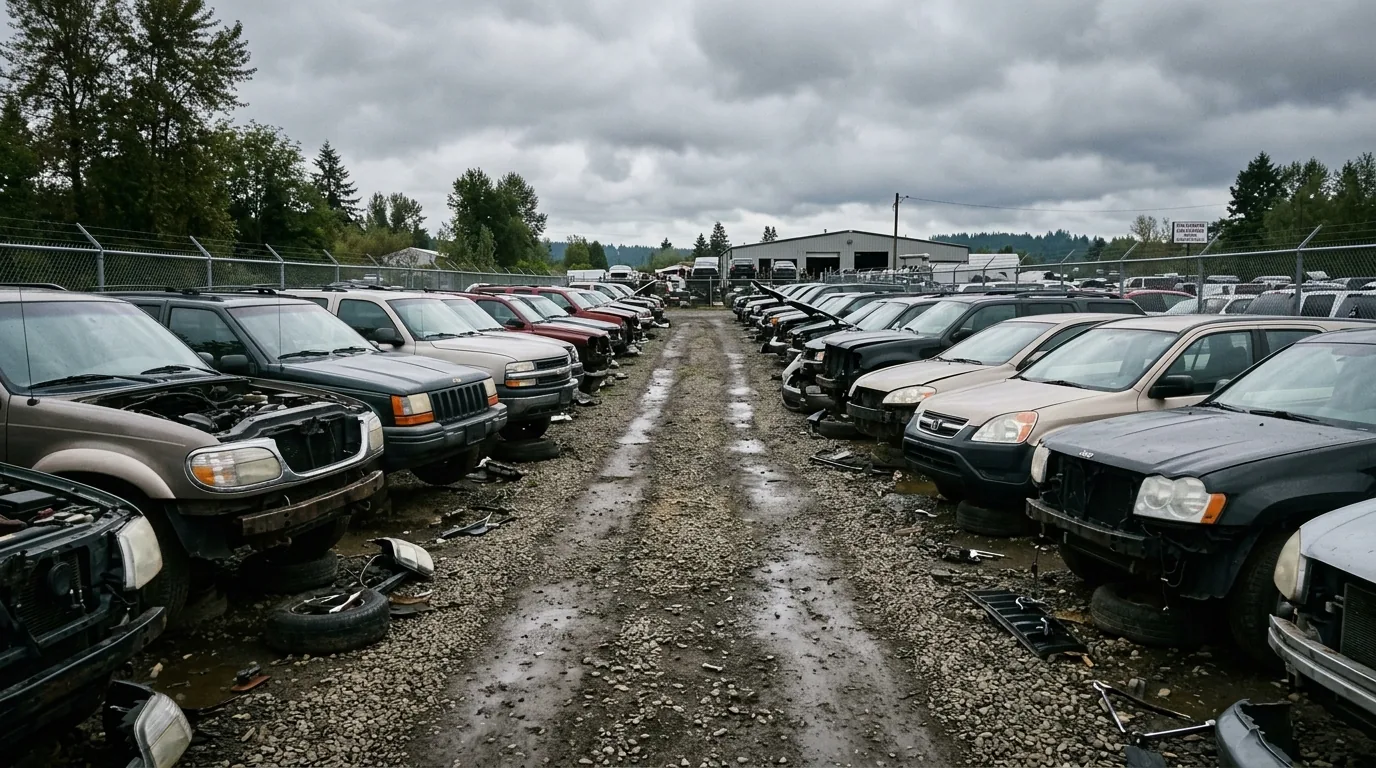
Self-service junkyards are the cheapest source and the best fit for headlights specifically, because you get to run all seven checks with the part in your hands before paying. Bring a 10mm socket, a trim panel tool, and a jump pack. Expect roughly 40 to 60% below the counter-service medians in the table above; see our breakdown of junkyard headlight prices for what yards actually charge by vehicle.
Full-service recyclers (Car-Part.com network, LKQ) pull, grade, and warranty the part. You pay the median prices shown above, but you get a 30 to 90 day warranty and VIN-matched fitment, which matters most on the LED and adaptive assemblies where a mismatch is expensive.
eBay and marketplace listings offer the widest selection, especially for low-volume models. The risk is that every one of the seven checks becomes someone else's photo. Demand pictures of the connector, all mounting tabs, and the lens shot against a bright background. Filter for sellers who state the OEM part number, and pay with a method that supports a return.
Common Problems With Used Headlights (and How to Fix Them)
Hazed and yellowed lenses. A $20 to $30 polycarbonate lens restoration kit with wet-sanding pads gets you from 800 to 3000 grit, then a polish and a UV-blocking clear coat. Budget 30 minutes per light. Skipping the final UV coat is the mistake; bare polished polycarbonate re-yellows within a year.
Moisture inside the housing. Only worth attempting if the seal, not the lens, is the failure point. Remove the bulb covers and rear caps, set the assembly in a warm dry space for a day to fully dry out, then re-seal the lens-to-housing joint with butyl headlight sealant. Confirm the housing vents are clear while you have it open; a plugged vent causes condensation on a perfectly good seal.
Broken mounting tabs. Repairable with a plastic welding kit or a two-part epoxy plus a fiberglass mesh backer, and adequate for a tab that isn't carrying the main load. For the primary anchor tabs, replace the assembly. A headlight that shifts under airflow will misaim itself and vibrate the lens loose.
Dead LED segments or drivers. Not economically repairable on a bonded assembly. This is why the powered test at step 5 matters more than anything else on the list.
Check current pricing for your specific vehicle on our headlight assembly price index.